Getting the Best Results from Granite Fabrication
Kitchen countertop fabrication is where raw granite slabs become precision-finished products. The gap between a good installation and a great one comes down to the fabricator's skill, processes, and attention to detail at every stage — from slab selection through to final sealing on site. For kitchen fabricators and installers, consistent quality builds reputation, reduces callbacks, and justifies premium pricing.
This guide covers the practical best practices that experienced fabricators follow to deliver granite countertops that satisfy even the most demanding clients.
Slab Selection and Inspection
Selecting at the Yard
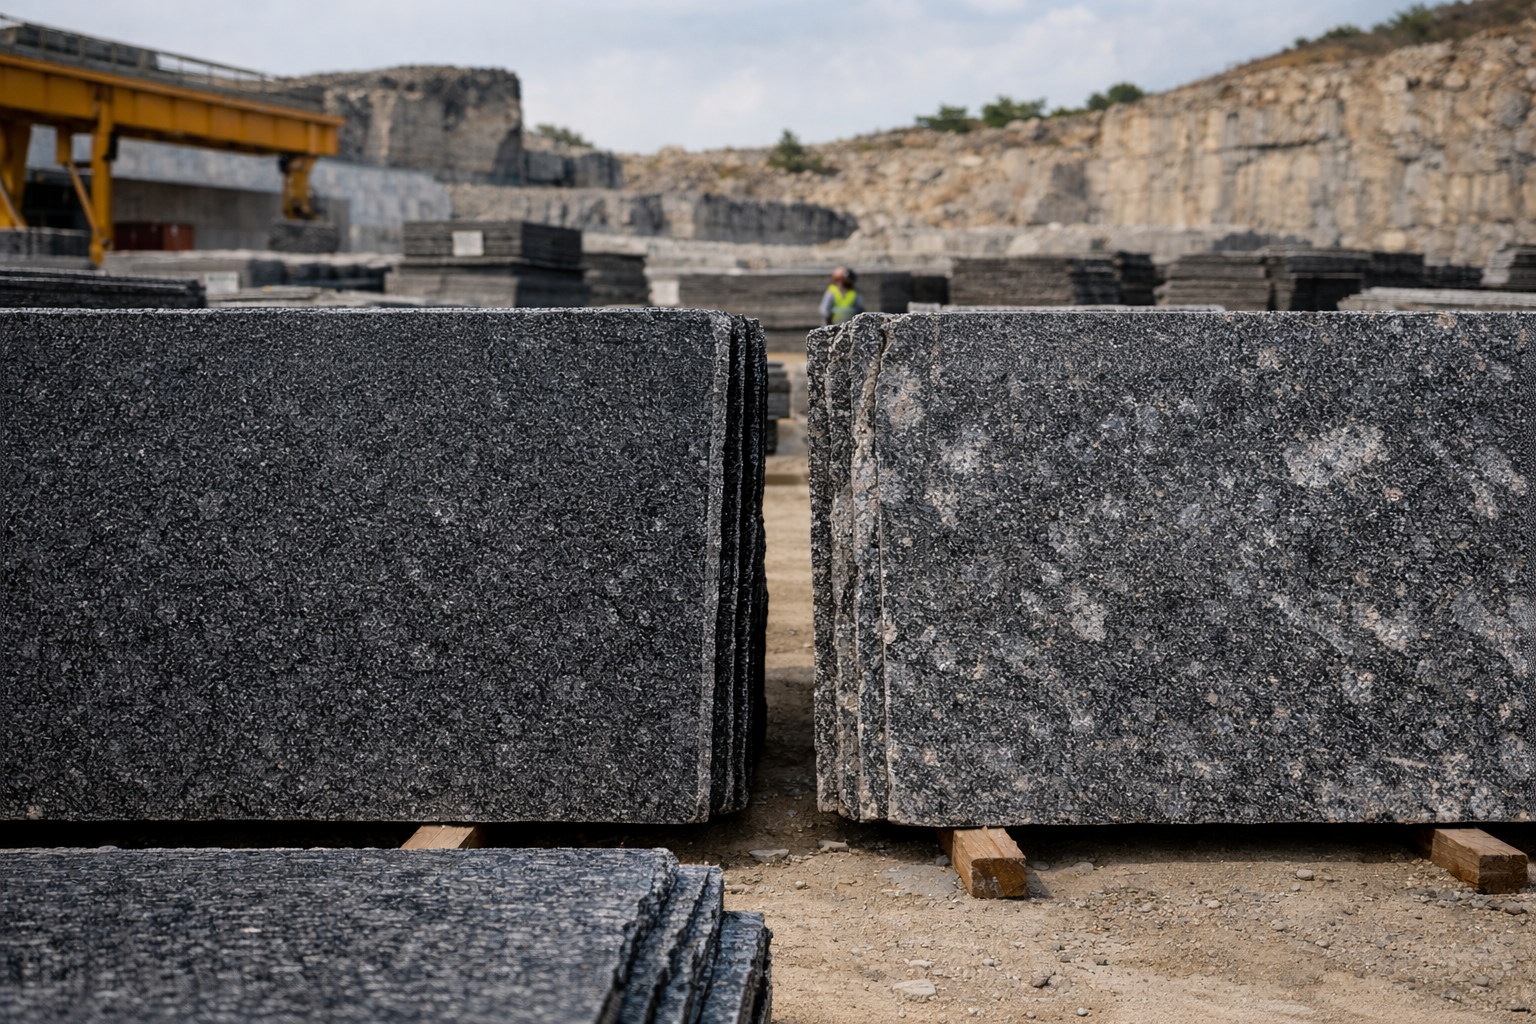
The quality of the finished countertop is largely determined at the point of slab selection. When selecting slabs at ANG's facility or any stone yard:
- View the full slab — Do not select from a small sample or photograph alone. Natural stone varies across each slab, and colour, pattern, and mineral distribution should be assessed across the full surface.
- Check both faces — The polished face shows the final appearance, but inspect the back for cracks, fissures, or structural weaknesses that could cause problems during fabrication.
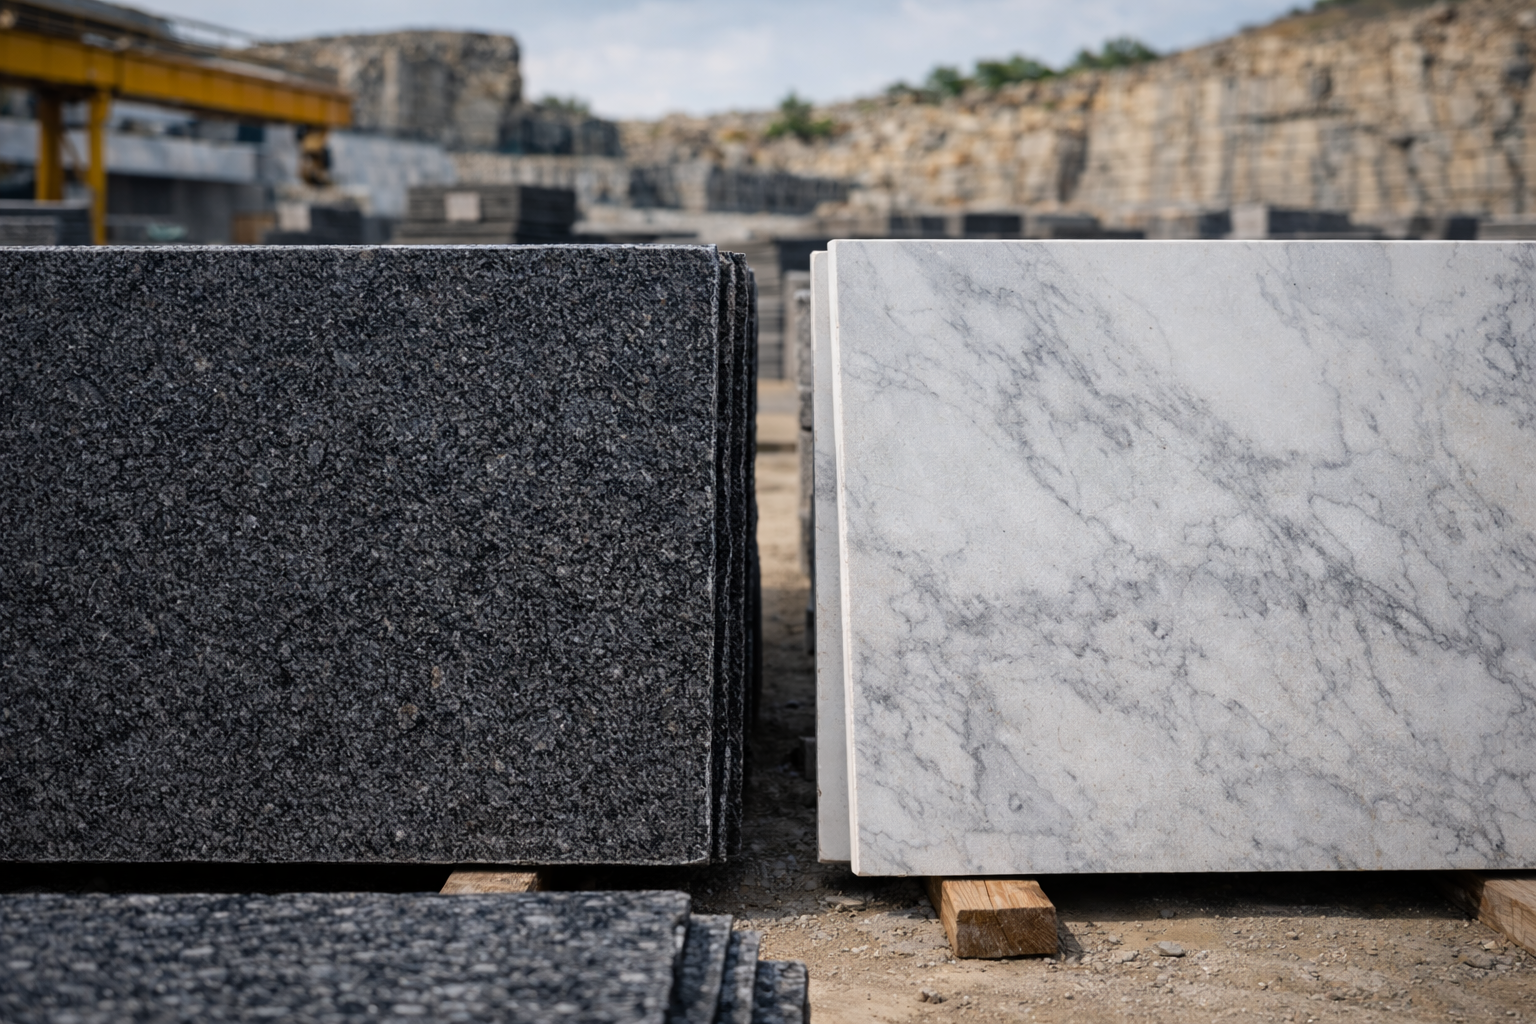
- Match multiple slabs — For kitchen projects requiring more than one slab (large islands, L-shaped layouts), select all slabs from the same production batch and lay them side by side to verify colour compatibility.
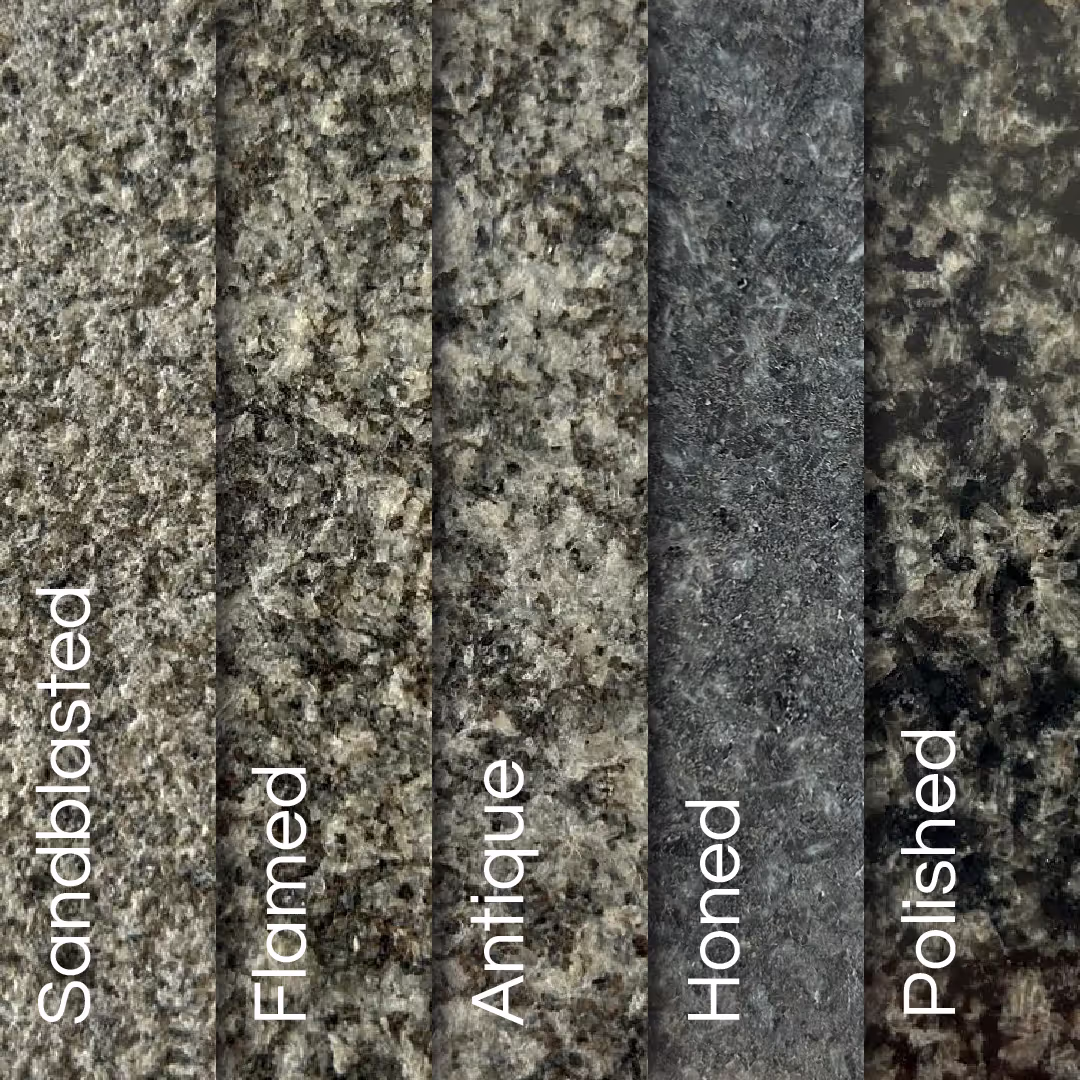
- Note the grain direction — Rustenburg granite has a subtle grain direction that is most visible in honed and flamed finishes. Mark the grain direction so pieces can be oriented consistently during cutting.
Incoming Inspection at the Workshop
Before cutting begins, inspect each slab for:
- Surface defects (chips, scratches, dull spots)
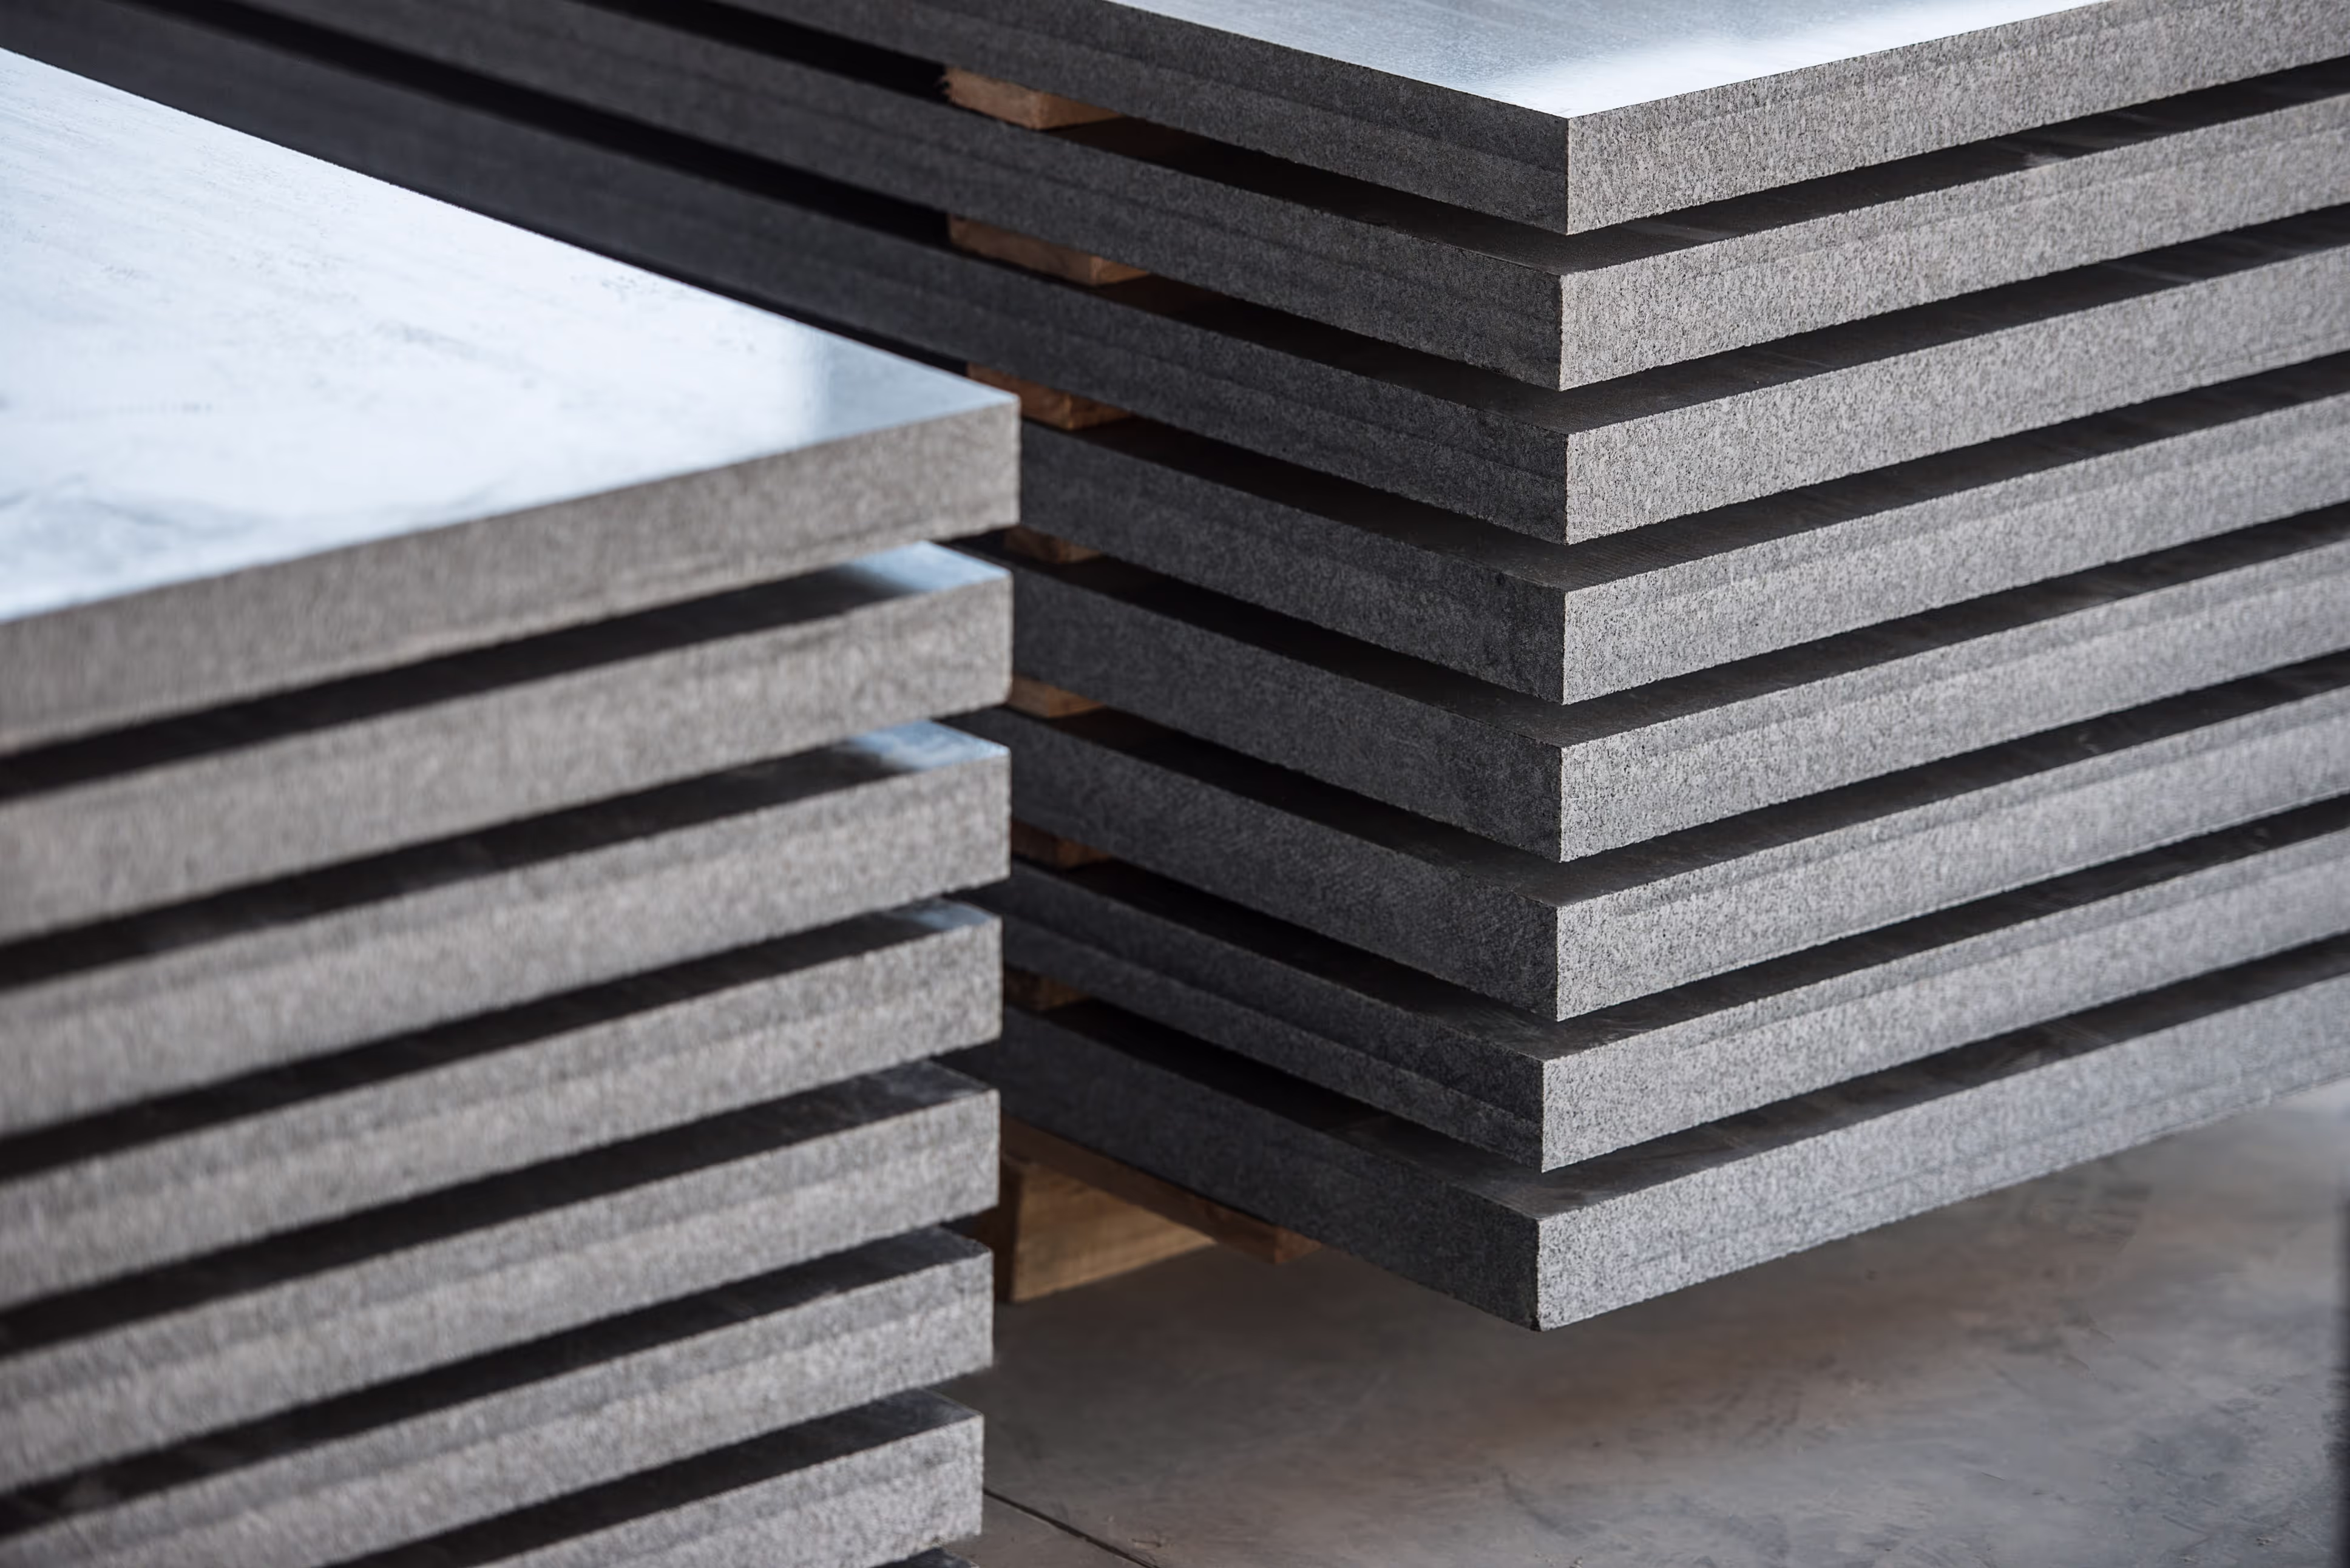
- Dimensional accuracy (thickness consistency across the slab)
- Structural integrity (tap the surface lightly — a clear ring indicates solid stone; a dull thud may indicate an internal crack or inclusion)
- Moisture content (wet slabs can appear darker than they will when dry — allow slabs to acclimatise to workshop temperature before colour-matching)
Templating
Accurate templating is the foundation of a precise countertop installation. A template that is 5 mm out will result in a gap or interference that is visible and difficult to correct on site.
Physical Templating
Traditional physical templating uses rigid strips (typically 6 mm MDF or plastic template strips) assembled on site to create an exact replica of the countertop shape:
- Template against the actual walls, not the cabinet boxes (walls are rarely perfectly straight)
- Check that cabinets are level and shimmed to final height before templating
- Note all fixed elements: plumbing positions, electrical points, appliance cutout locations, and any structural obstructions
- Mark the front edge line (overhang), backsplash height, and any scribing requirements
- Label every template piece with orientation marks so it can be reconstructed correctly in the workshop
Digital Templating
Digital templating systems (laser measurement) are increasingly standard in professional fabrication shops. Benefits include:
- Higher accuracy (typically within 1-2 mm across the full layout)
- Faster on-site measurement
- Direct file transfer to CNC cutting equipment
- Easier modification if the client changes requirements
Whether using physical or digital methods, always verify critical dimensions (sink cutout positions, hob cutout positions, and joint locations) before leaving the site.
Cutting and Fabrication
Bridge Saw Operation
The bridge saw is the primary cutting tool for granite countertop fabrication. Best practices:
- Blade selection — Use diamond blades rated for granite/hard stone. A worn blade creates micro-fractures at the cut edge, increasing the risk of chipping during edge profiling.
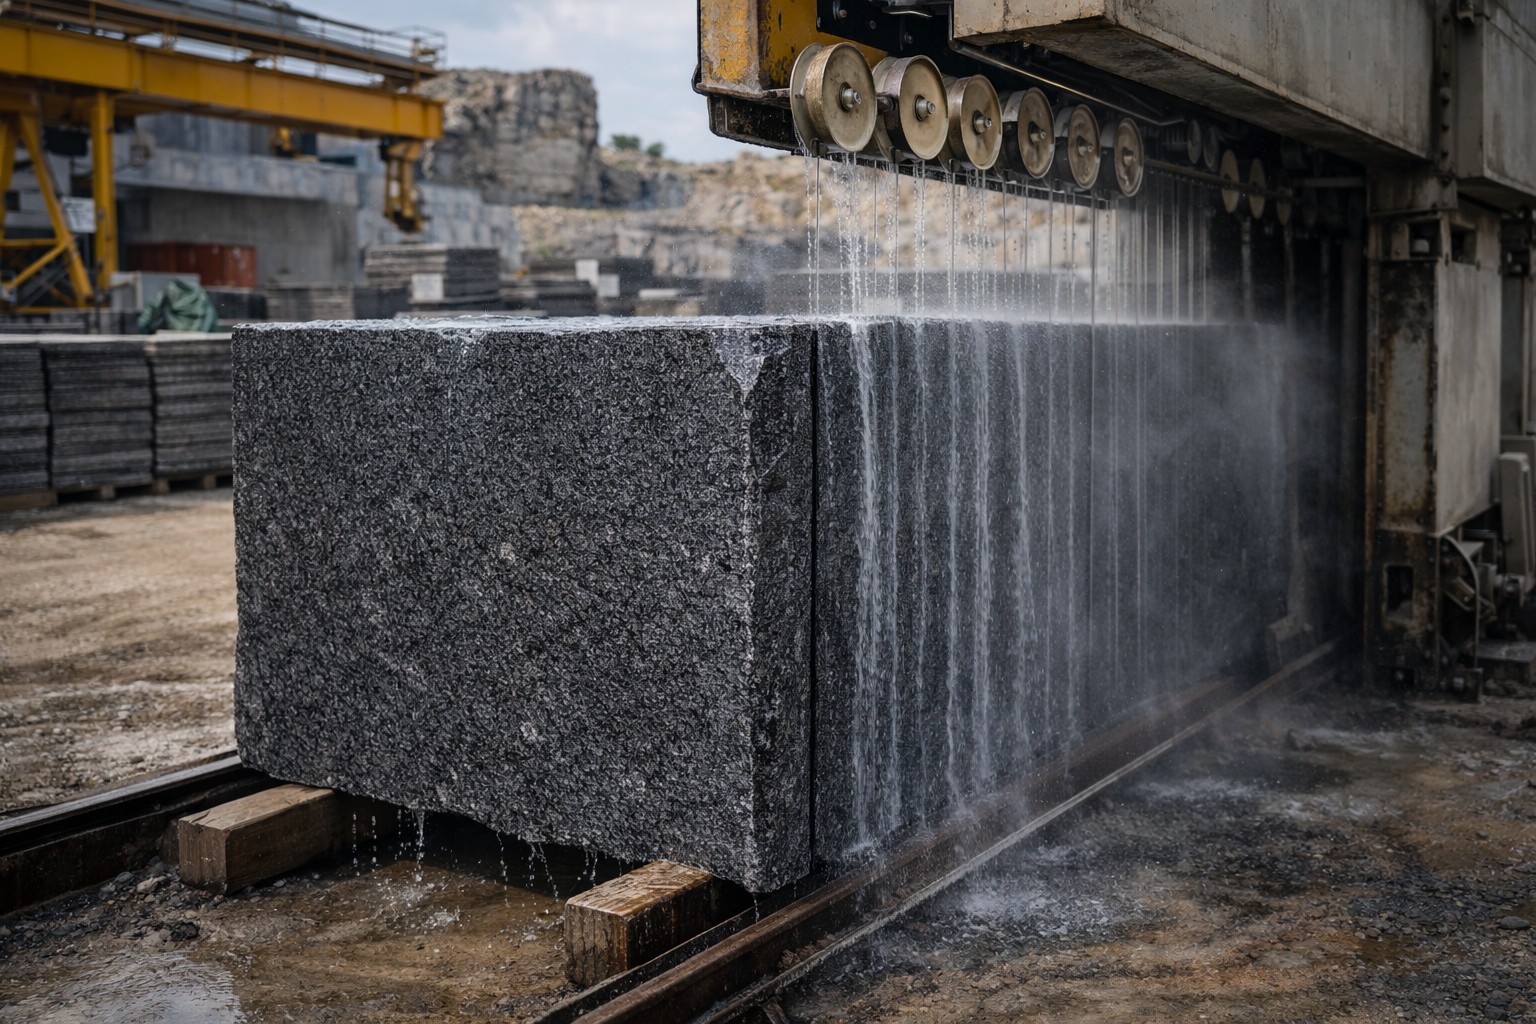
- Feed rate — Let the blade do the work. Forcing the stone through too quickly generates heat, dulls the blade prematurely, and creates a rougher cut edge.
- Water supply — Maintain constant water flow to the blade. Water cools the blade, suppresses dust, and flushes swarf from the cut. Insufficient water leads to blade glazing and potential stone cracking from heat stress.
- Cut sequence — Plan cuts to maintain maximum slab integrity as long as possible. Cut the most critical pieces first (sink sections, hob sections) while the slab is still fully supported.
CNC Fabrication
CNC bridge saws and routers offer precision cutting, automated sink cutouts, and consistent edge profiling. For fabricators investing in CNC equipment:
- Granite requires different tooling speeds than engineered stone — follow tool manufacturer recommendations for natural stone
- Programme conservative cutting paths that avoid sharp internal corners (stress concentration points)
- Maintain tool sharpness — dull tools generate heat and increase chipping risk
Sink and Hob Cutouts
- Radius corners — All internal corners on sink and hob cutouts must have a minimum radius (typically 10-15 mm). Square internal corners create stress concentrations that can cause cracking over time.
- Minimum margin — Maintain a minimum of 50 mm of granite between any cutout edge and the perimeter of the countertop. This is particularly critical between the hob cutout and the back edge (backsplash junction).
- Reinforcement — For undermount sinks in 20 mm granite, reinforce below the cutout with fibreglass mesh or steel rodding bonded to the underside. This prevents cracking under the weight of a full sink.
Edge Profiling
Edge profiles can be achieved by CNC router, manual profiling machine, or hand tools:
- Pencil round — The simplest profile. A single-pass router operation. Minimal risk of chipping.
- Bullnose — Requires a profiling wheel matched to the desired radius. Sand through progressive grits (50, 100, 200, 400, 800, 1500, 3000) for a polished finish.
- Ogee — A complex multi-step profile. Requires experienced CNC programming or skilled manual profiling. Higher risk of defects — inspect carefully after profiling.
- Laminated edges — Bond the lamination strip to the front edge with colour-matched epoxy before profiling. Ensure the lamination joint line is tight and nearly invisible.
Joining and Bonding
Most kitchen countertops require at least one on-site join. Join quality is a key indicator of fabrication skill:
- Joint preparation — Both mating surfaces must be clean, dry, and perfectly straight. Check with a straightedge.
- Adhesive — Use colour-matched polyester or epoxy adhesive. Mix colour pigments to match the dominant stone colour. Test the colour match on a scrap piece before applying to the joint.
- Clamping — Use joint-pulling clamps (suction cup or bolt-type) to draw the two pieces tightly together while the adhesive cures. The joint line should be barely visible.
- Clean-up — Remove excess adhesive with a razor blade before it fully cures. Adhesive smears on polished granite can be extremely difficult to remove once hardened.
On-Site Installation
- Dry-fit first — Place all pieces on the cabinets without adhesive to verify fit, check levels, and confirm cutout alignments. Adjust cabinet shimming if needed.
- Adhesive application — Apply a continuous bead of clear silicone to the top of all cabinet rails and cross-members. This secures the countertop without rigid bonding (allowing natural stone expansion).
- Levelling — Check the countertop is level in all directions. Use shims between the cabinet and the stone if necessary. The stone should bear evenly on the cabinets with no rocking.
- Backsplash — If a granite backsplash is specified, install after the countertop is secured. Bond to the wall with adhesive and seal the junction between countertop and backsplash with colour-matched silicone.
- Sealing — Apply a quality penetrating impregnating sealer to the finished countertop. Allow the sealer to absorb for the manufacturer's recommended time, then buff off excess. Advise the client on resealing frequency (typically annually for kitchen countertops).
Sourcing Slabs from ANG
Afrika National Granite supplies kitchen fabricators with:
- Polished Rustenburg slabs in 20 mm and 30 mm — our core stock product
- Exotic materials available without importing a full container — Rain Forest Green, Patagonia, Calacatta D'Oro, and more
- Consistent quality grading — first-choice and second-choice clearly differentiated
- Direct-from-quarry pricing for fabricators with regular accounts
Visit Our Slab Yard
Select your kitchen countertop slabs in person at 8 Dekenah Road, Alrode, Alberton. Our slab yard is open for fabricator visits — walk through the inventory, inspect slabs for your projects, and get competitive pricing from our team. Contact Afrika National Granite today.